
Welcome to FreePaintingTutorials.com! Today, we're diving into a beautiful project that's perfect for both beginners and experienced artists: learning how to paint bird's nest scene in vivid acrylics. This step-by-step guide walks you through creating a charming, warm sunset background and the delicate textures of the nest and its occupants.
If you’ve ever wondered how to paint bird with simple, effective strokes, this tutorial is for you. Follow along to bring this heartwarming image to life on your canvas!
Gathering the right materials is the first step to success!
Here are the seven key steps to creating your acrylic masterpiece. We'll focus on texture and light to make the scene truly pop.
Start with a light pencil sketch on your canvas. Define the major elements: the placement of the branch, the general shape and position of the nest, and the three small sparrows inside. Keep the sketch simple; this is just a guide for your brushwork. Good placement is key to a balanced composition when you learn how to paint bird's nest.
Apply a thin, watered-down layer of a warm mid-tone color, like Burnt Umber or a diluted orange. This layer, called the underpainting, eliminates the stark white of the canvas. It provides a warm base that will unify the final colors and help the shadows look richer.
Mix warm colors—Medium Yellow, Brilliant Red, and a touch of white—for the glowing sunset sky. Using your medium flat brush (like the Number 8 or 12), apply the colors horizontally, blending them softly while the paint is still wet. Keep the paint thin near the horizon line and slightly darker at the top. This luminous backdrop sets the mood for the entire scene.
Using a mix of Burnt Umber and a small amount of Phthalo Blue, block in the tree branch. Don't worry about perfection; texture is important here. Next, load a flat brush with various greens (mixed with Medium Yellow and Titanium White for highlights) and lightly tap or brush to create the texture of leaves around the nest. Focus on placing darker leaves for shadow and brighter ones where the sunset hits.
This is where the detail begins! Use small, wispy strokes with shades of brown, tan, and gray to mimic the woven texture of the nest. The technique for how to paint bird's nest involves many short lines layered over each other. Darken the interior bottom for a deep shadow, and highlight the edges facing the sunset to give it form. Use your smaller flat brushes (like the Number 3 or 7).
Time to apply what you've learned about how to paint bird! Using your smallest brush (Liner Brush or No. 0), carefully block in the shape of the three tiny sparrows. Use simple colors—soft browns, grays, and white. Focus on creating their rounded bodies and small heads. Add two tiny specks of black for the eyes and a touch of white or light color on the chests for form. Keep the strokes minimal and gentle.
Step back and review your painting. Add any final, bright highlights using pure Titanium White to the edge of the nest, the tree branch, and the brightest part of the birds. Deepen any shadows that feel too weak (under the nest, behind the branch). Once dry, you can add a small signature!
You've successfully created a beautiful, detailed bird's nest painting in acrylics! We hope this tutorial showing how to paint a bird's nest helped you grow your skills and confidence.
If you enjoyed this tutorial and want to support more free content, please consider becoming a Patron or making a small donation:
Which part of the process was your favorite? Share your finished painting with us in the comments below!
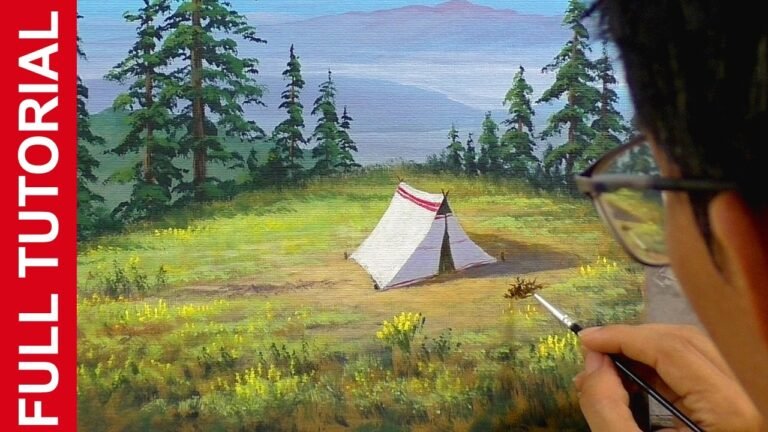
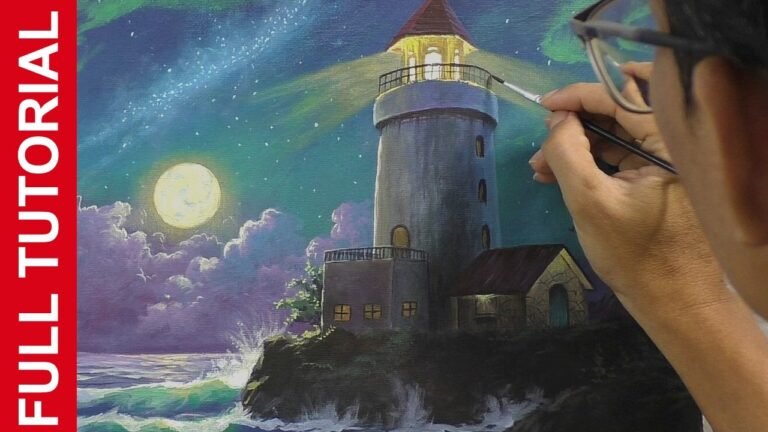
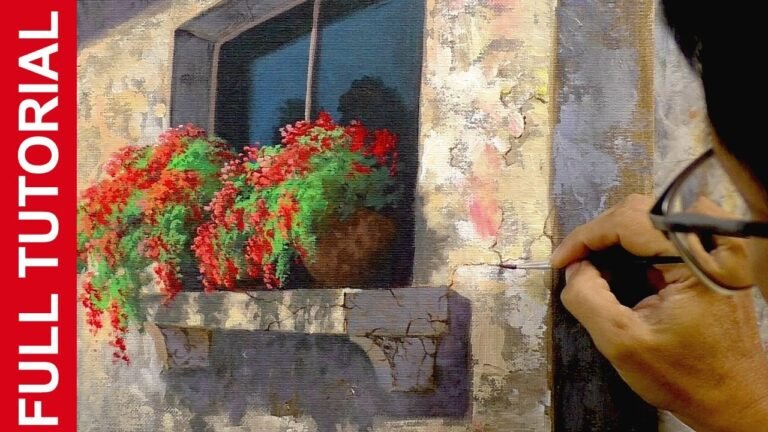
Do you want to paint more in acrylics?
or do you you want to start with the basics?

Ohh my ❤that’s so cut ❤❤❤looks so alive !! 👏👏👏👏❤️
Thank you silvana
@@jmlisondra❤always a pleasure 👋
@jmlisondra❤always a pleasure 👋
That is so awesome
❤❤❤
👍😄👏👏👏👏👏👏
Thank you for your tutorial. How do you get your acrylics to be so smooth? Is your brush wet?
you're welcome... yes its a bit wet..
Magnifique peinture,le nid est tres beaucet tres realiste,les oisillons aussi....😊😊❤❤
Nice🎉🎉🎉